
You will need: refoam kit (foam, dustcap, shims, contact glue), utility knife, masking tape
1. Remove speaker from the cabinet. Mark the wires and terminals (positive and negative) before you remove the component so you will remember how to correctly re-install it in the cabinet. The old foam can be messy and sticky so work on newspaper. (Bose 901 & 802 speakers should be repaired in the cabinet.)
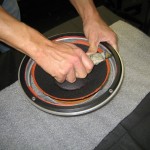
2. If you have a ring OVER the outside edge of the foam, remove it by inserting a utility knife or chisel under the gasket (do not remove any gaskets under the foam). Carefully pry around the gasket until it can be removed. You can reuse the original gasket or order new gaskets in most cases. Advent and Dahlquist Masonite rings can become brittle so be careful not to break them during removal.
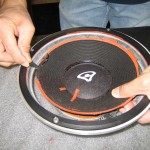
3. Scrape or peel the old foam from the speaker frame, cone, and the original gasket if you are re-using it. Remove as much of the old glue as possible without damaging or cutting the cone. (We do not recommend the use of solvents or other chemicals to remove the foam. They can damage the remaining parts.) Clean any old foam fragments left behind.
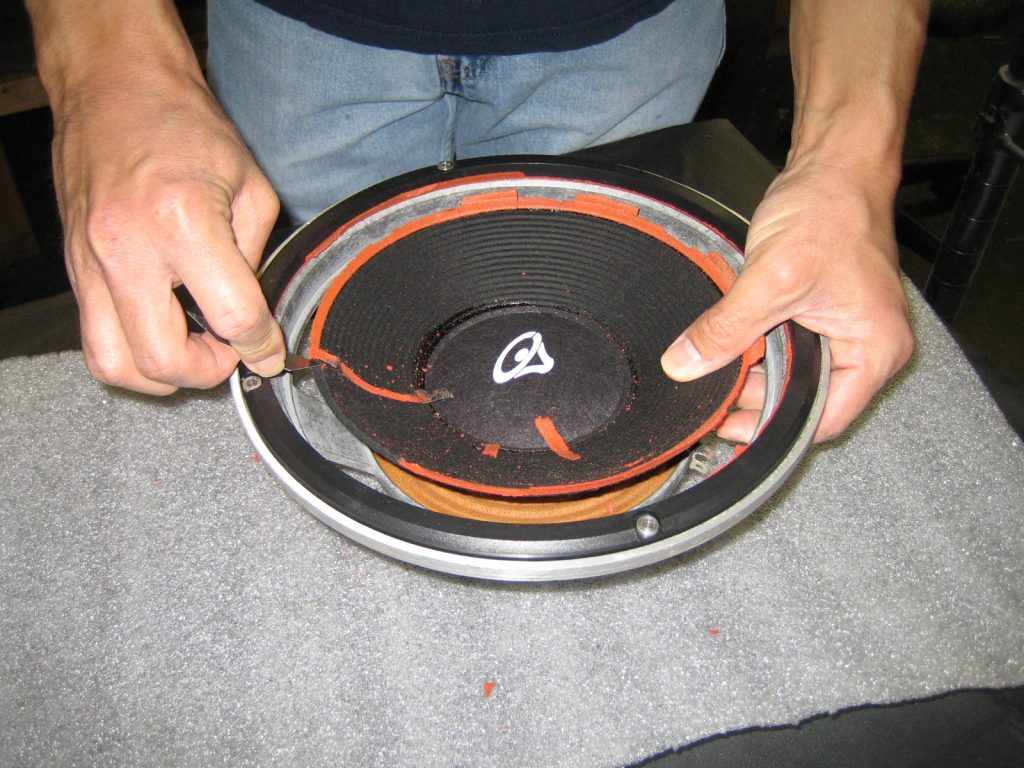
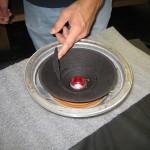
4. To better improve the success of your refoaming repair, we suggest that you remove the original dustcap– see FAQ’s. Do not remove dustcap for Infinity Bullet woofers or Bose 901 or 802’s- use eye, ear and feel to center foam). Keep the blade horizontal so you will not cut the cone or voice coil leads. Slice center of the dustcap and work your way towards the outside edge and remove. Use masking tape to remove any dirt that might be on the inside of the voice coil or in the voice coil gap.
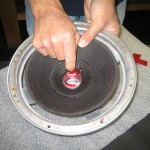
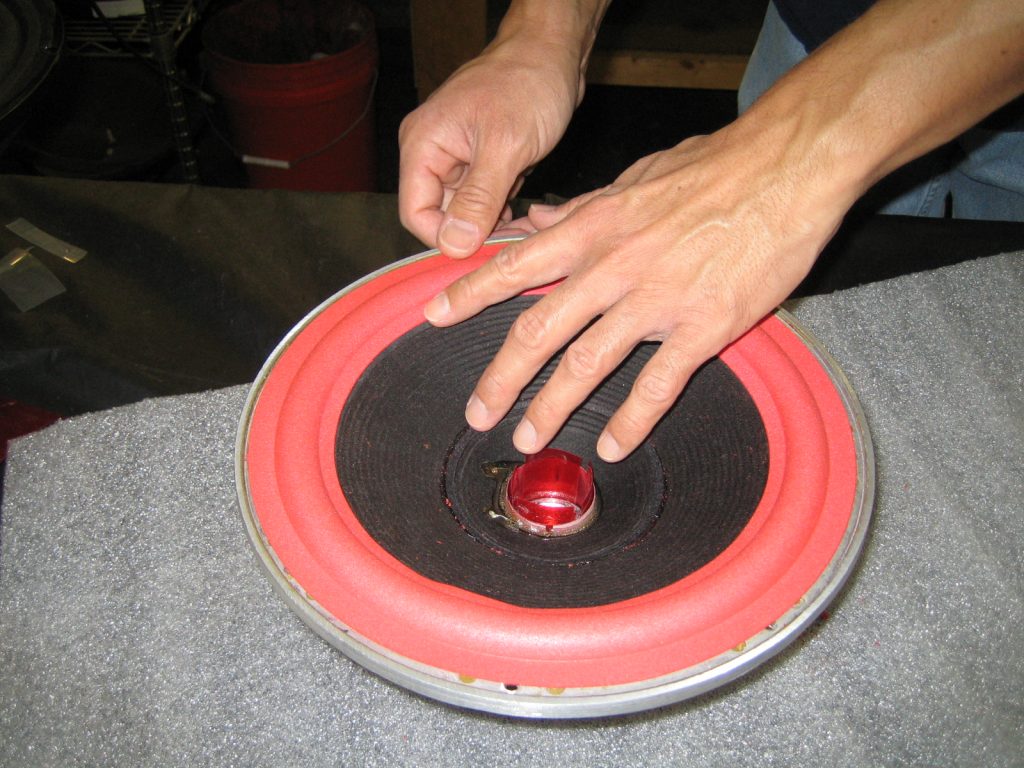
5. Insert vertical strips (about 1/8-1/4″ wide) of shim material inside the voice coil in between the voice coil and magnet pole piece to keep cone/voice coil assembly centered for the refoaming process. Insert at 12:00, 6:00, 3:00, 9:00 and evenly continue until the cone assembly is secure. Check to insure that the cone and spider assembly are at a natural height and not sunken or elevated.
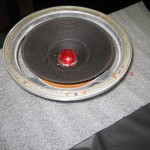
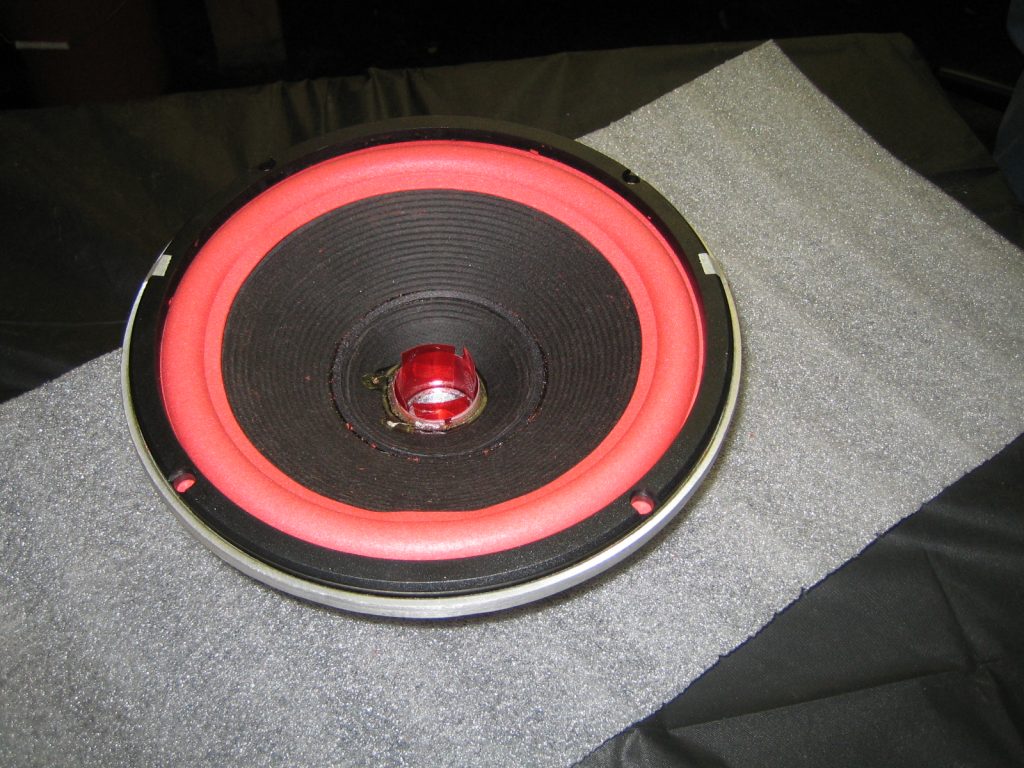
6. Dry fit the new foam on the speaker to check for proper fit to the cone and frame. The exact size foam might not be available so you may need to cut and seam the foam if it is slightly too large and/or trim the outside with scissors. When we refoam, we reglue the new foam to its original place, but you might find it easier to attach the new foam to the front of the cone if the original was adhered to the back. (Advent or Dalquist woofers with masonite rings must have the foam returned to the original location.) Technically there will be a change to the speaker, but it is unlikely you could hear any differences.
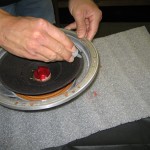
7. Spread a thin, flat bead (shmear with glue tube tip or pen or brush) of glue to the edge of the cone. DO NOT APPLY GLUE TO FOAM. (Glue applied directly to foam will cause foam to curl and be very difficult to work with.) Allow the glue to begin to dry and get tacky. Center the new foam onto cone and gently apply pressure with your finger beginning at the 12:00, 6:00, 3:00 and 9:00 positions. If the new foam is centered correctly, then you can move your finger in a full circle to secure it. Apply glue to speaker frame, let it get tacky and then do the same to the foam on the frame.
8. If you are using new gaskets, you might need to trim them to the correct size. Spread glue on gasket and when tacky, install. You can tape or clamp in position. If the gasket is taller than the foam, you can carefully turn upside down on a flat surface to dry. Do not slide, do not change alignment of foam or gasket. If the foam is taller than gasket, leave speaker face up and place same size component on top of speaker. Wait 24 hours and remove shims from voice coil. Lightly tap to test that cone moves up and down without scraping or grinding.
Install new dustcap. If it is larger than original it will cover old adhesive markings.
Not all speakers are good candidates for refoaming. The remaining voice coil, spider and cone must be in good shape for refoaming to be successful. If your speaker does not move freely, you might need speaker reconing. This is the removal and replacement of all the moving parts in the speaker frame including the voice coil, cone, spider, surround, dustcap, leads and gasket. In most cases, this returns the component to exact new or upgraded specifications. Call or e-mail us for pricing and more info.

Refoaming Instructions PDF file